Flowers decorated with Tissue Paper
#v11920
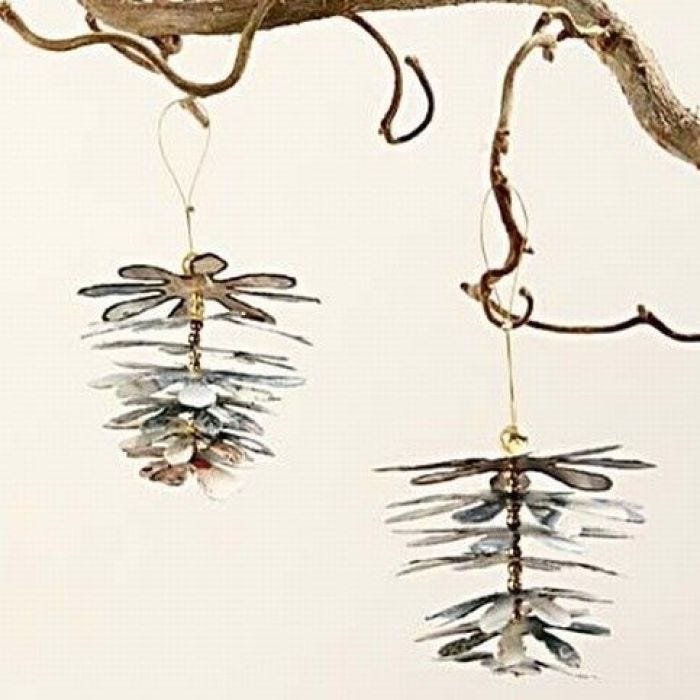
Flowers decorated with tissue paper and assembled with beading wire and beads.
#v11920
Hoe werkt het Download onze stapsgewijze handleidingen
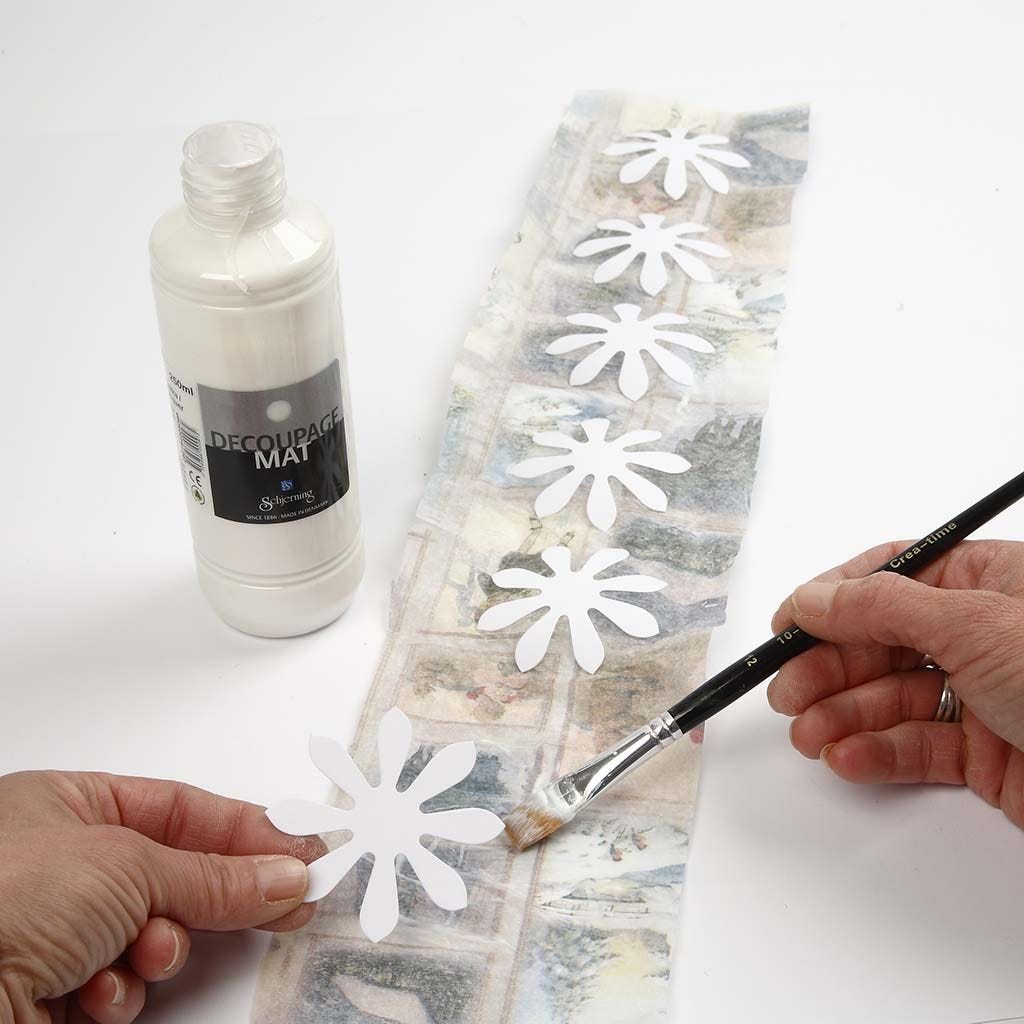
1 Cut tissue paper into suitable pieces, brush with Decoupage Lacquer and put the flowers onto the tissue paper.
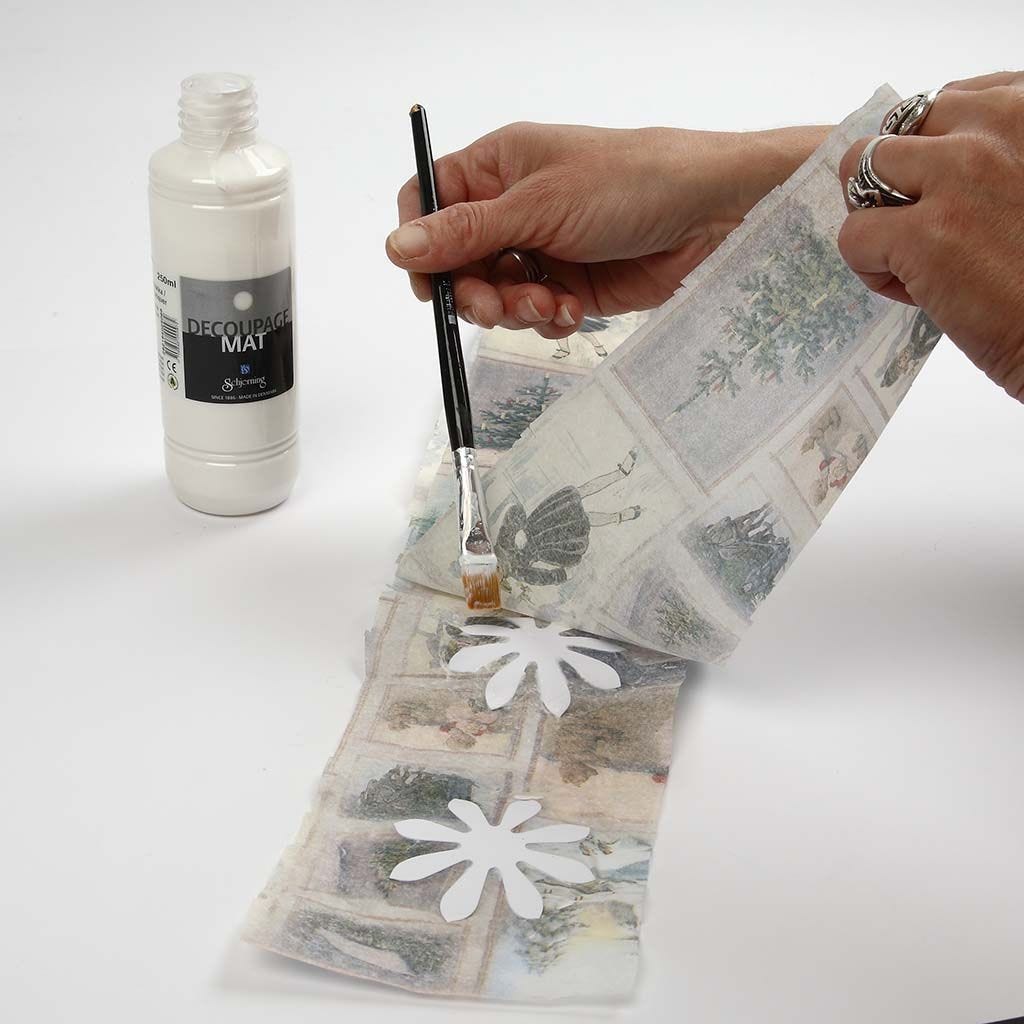
2 Apply another coat of Decoupage Lacquer and put the other piece of tissue paper on top. Press firmly.
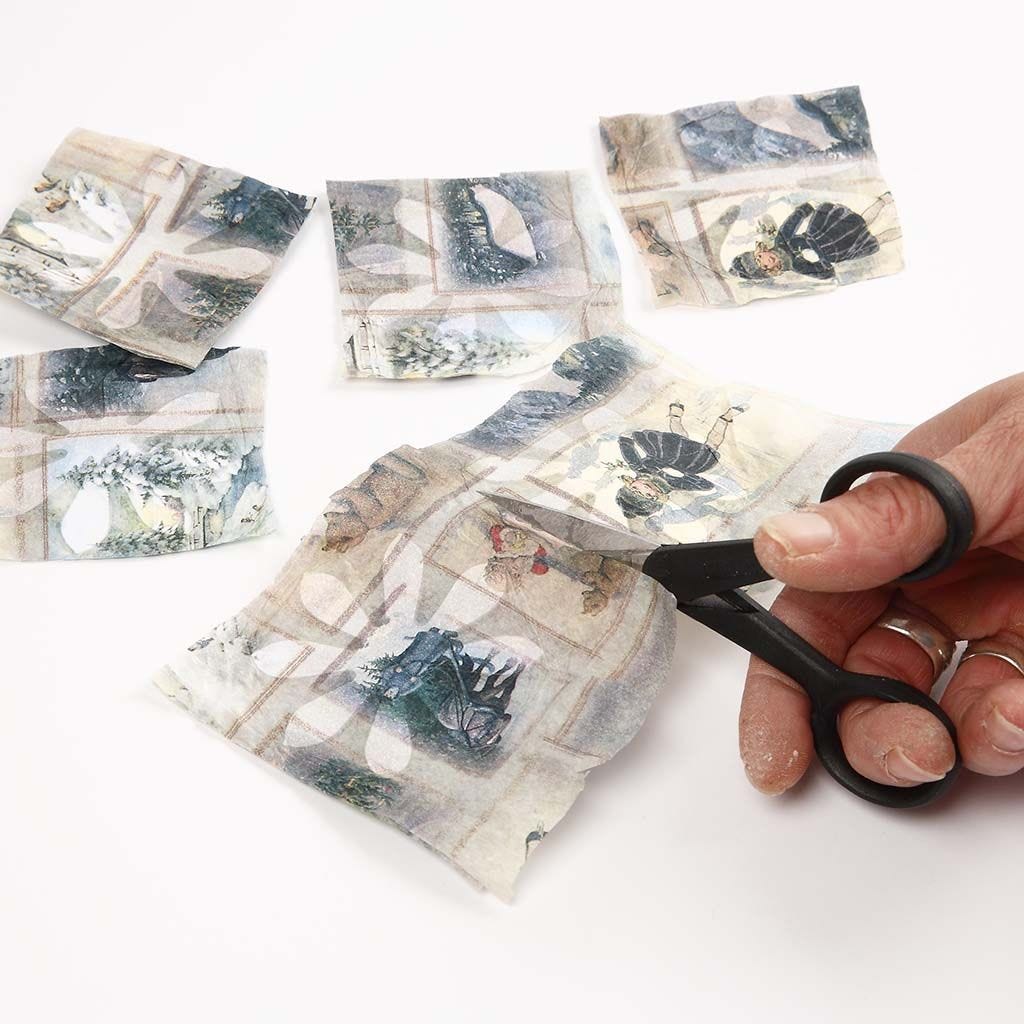
3 Cut the tissue paper between each flower.

4 Apply a layer of Decoupage Lacquer on both sides of the flower before tearing the tissue paper around them.
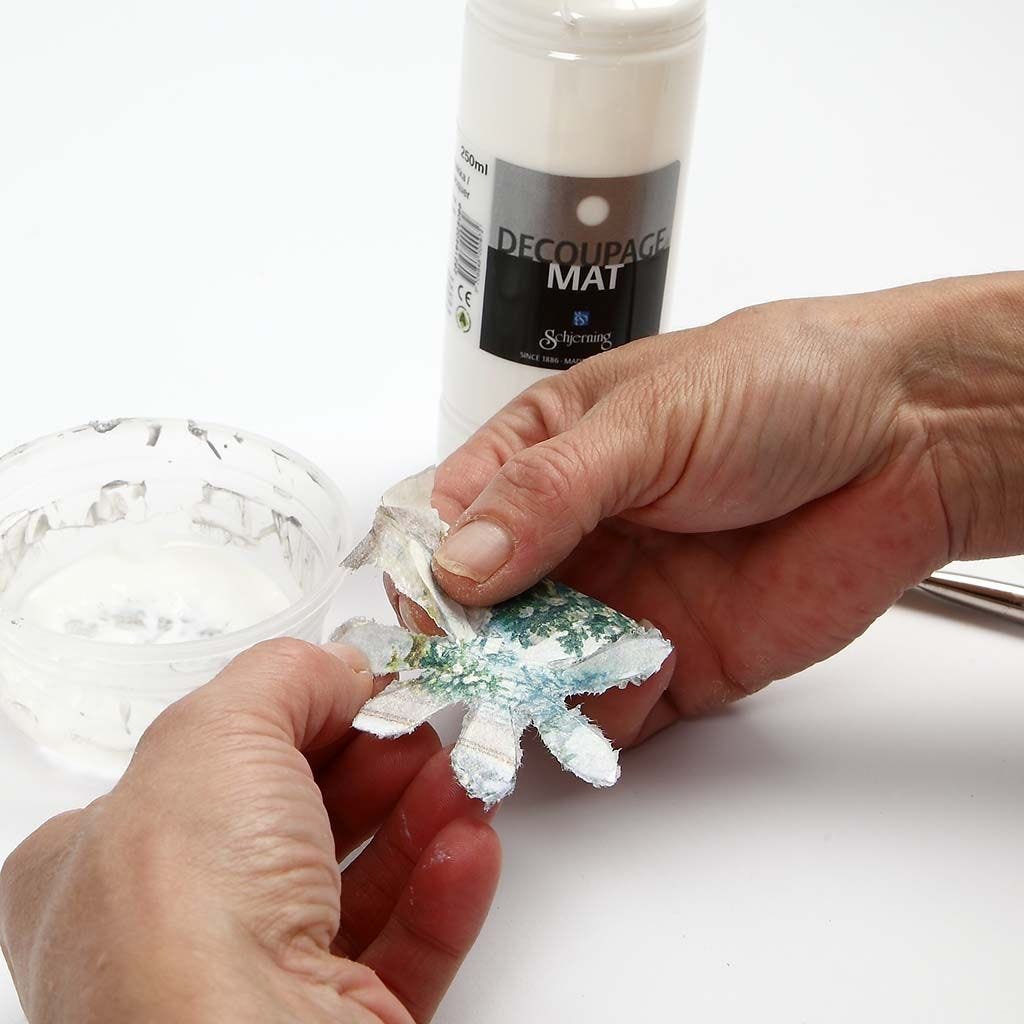
5 Tear whilst the lacquer is still wet.
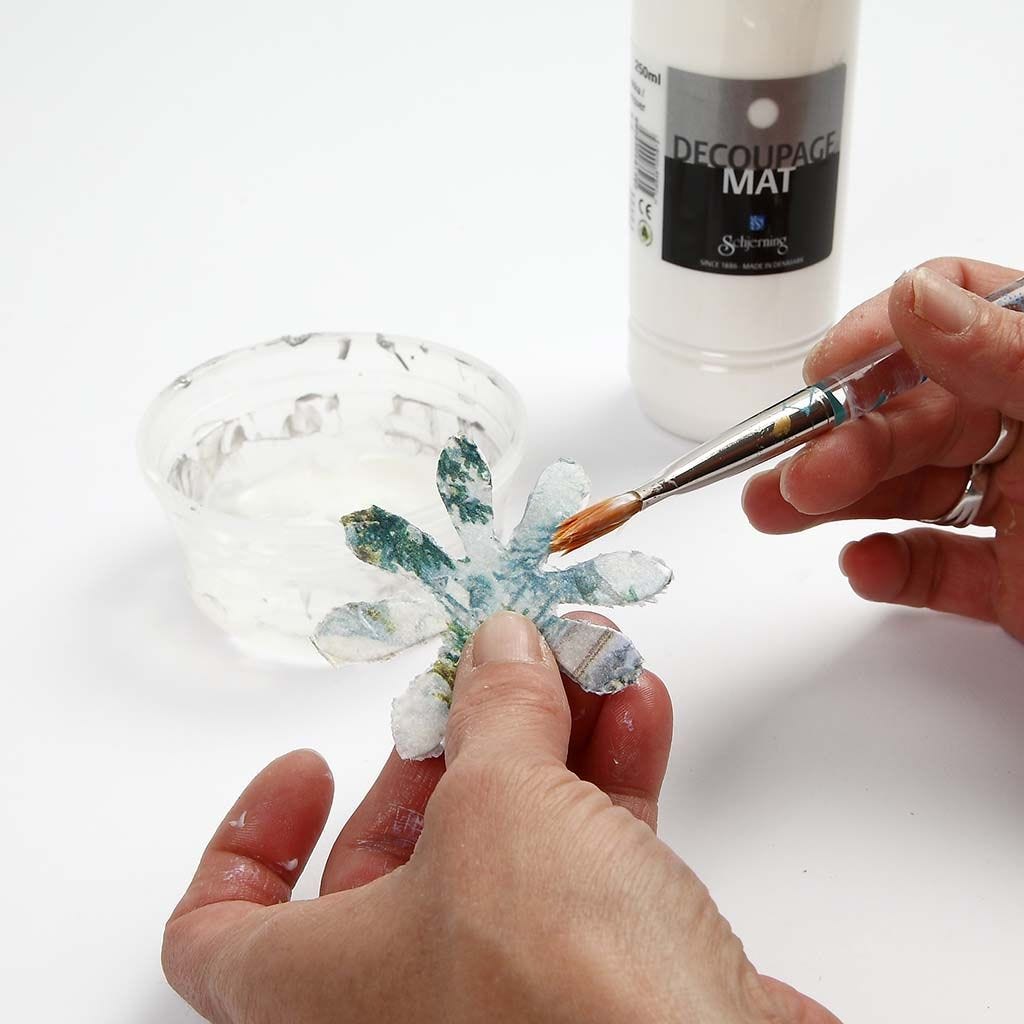
6 Trim the edges with Decoupage Lacquer.
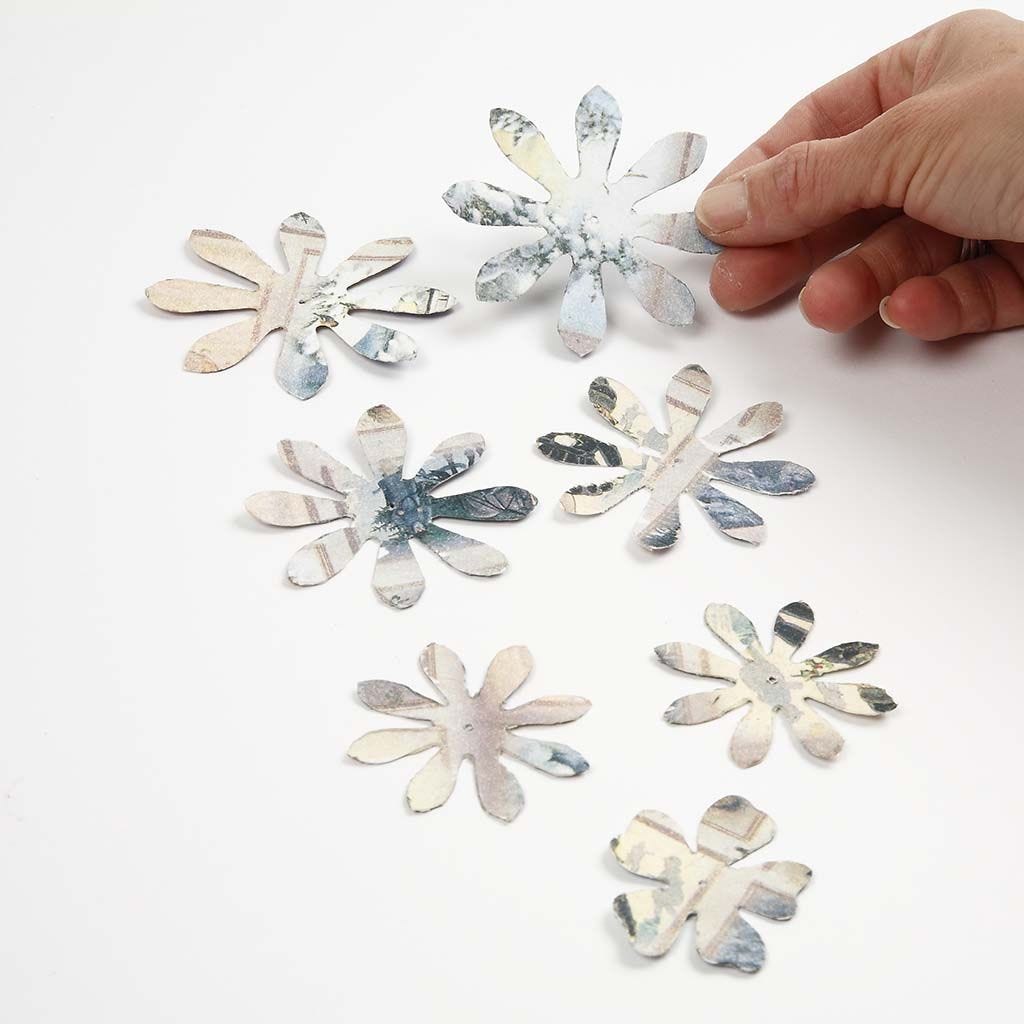
7 When dry assemble the flowers to make a pine cone. Two large, two medium, two small and one very small flower.
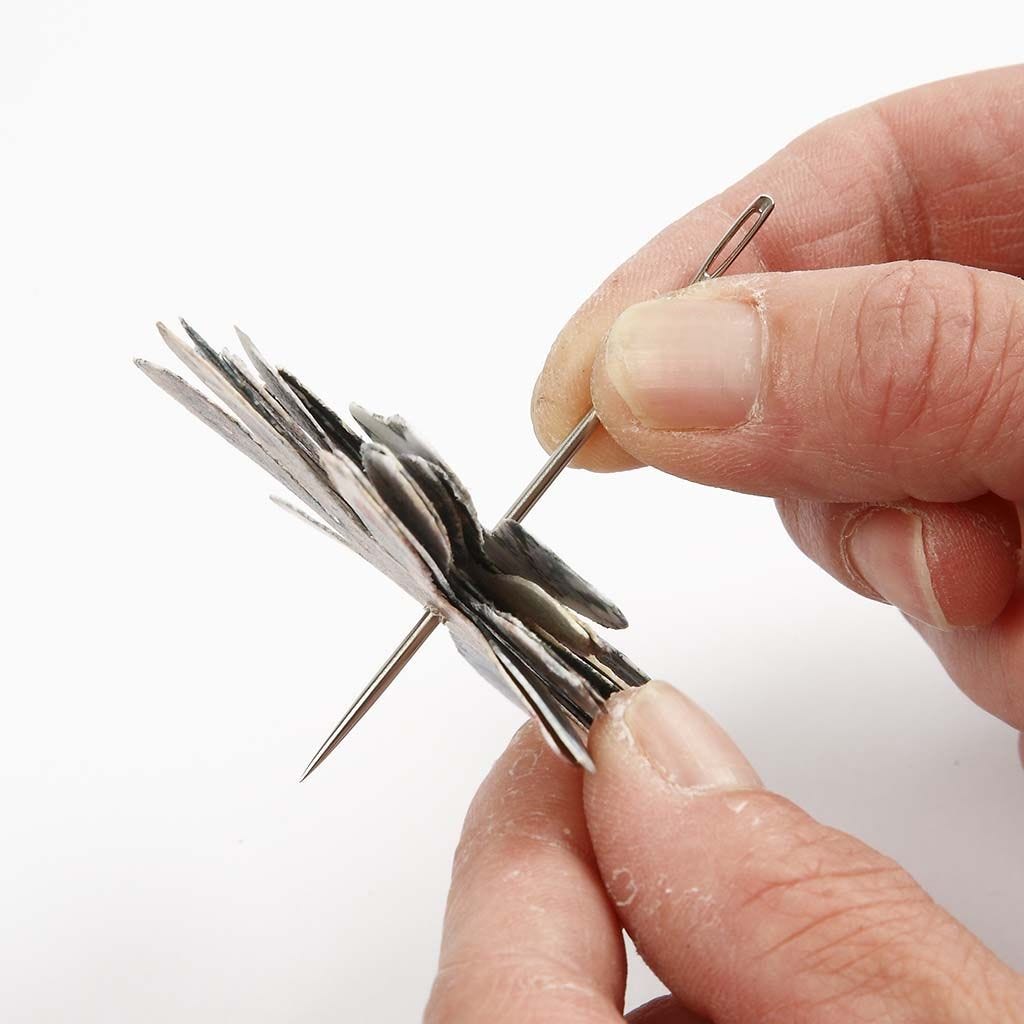
8 Make a hole in the middle of the flowers with a needle.
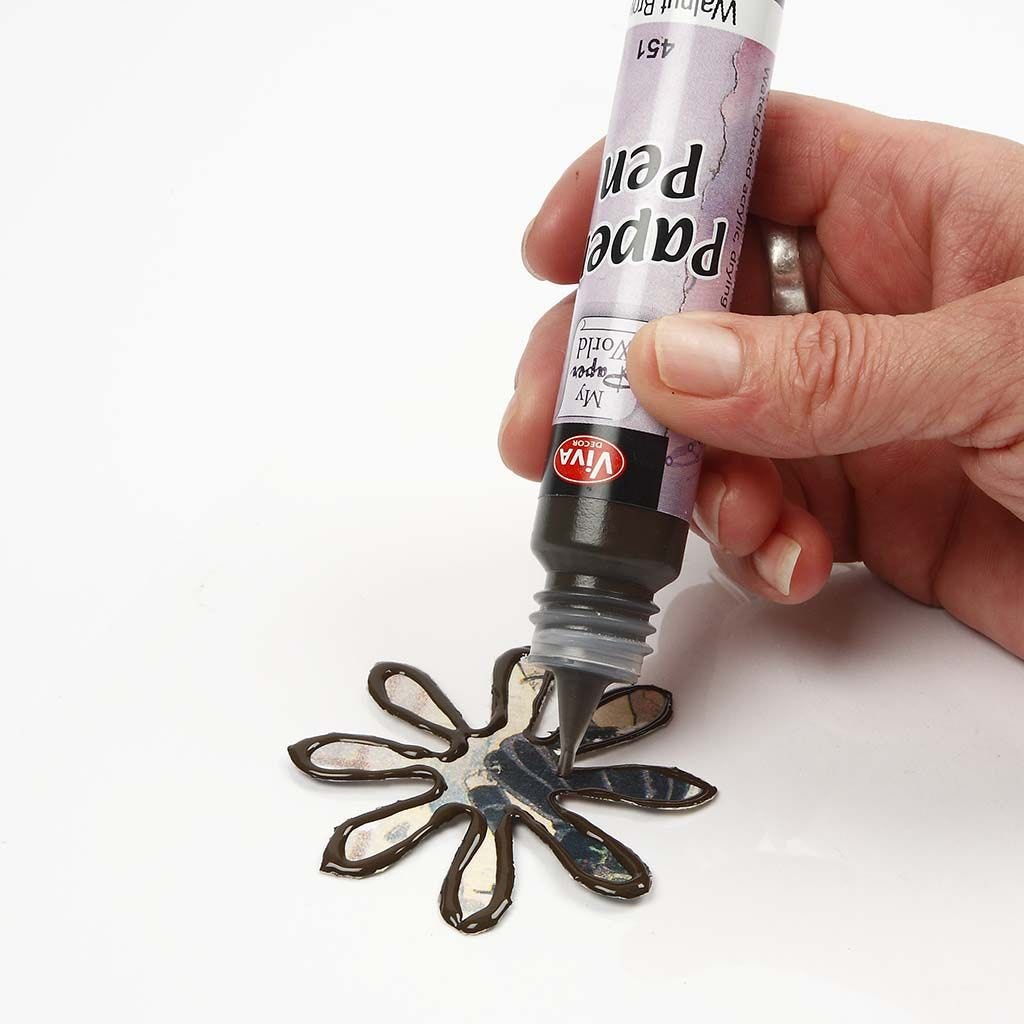
9 Decorate the edges with a Paper Pen. Let the flowers dry.
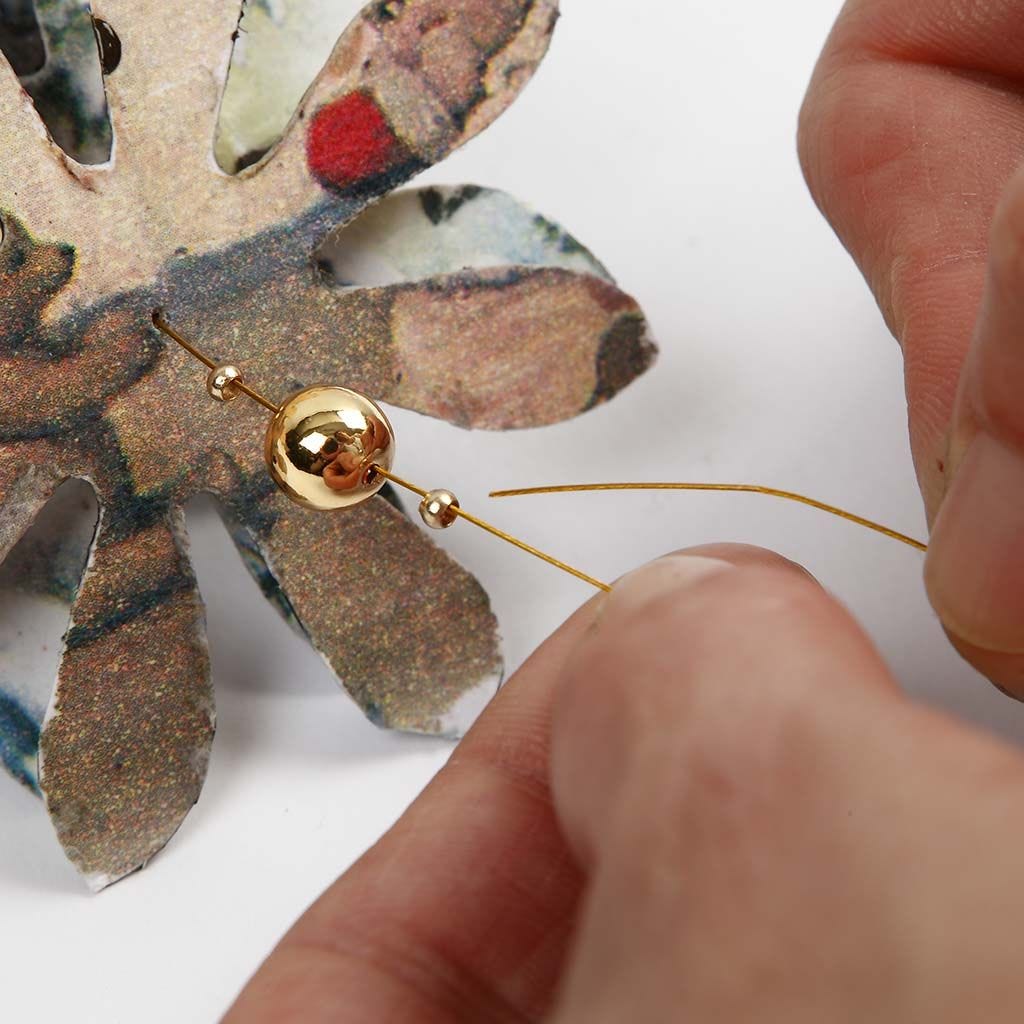
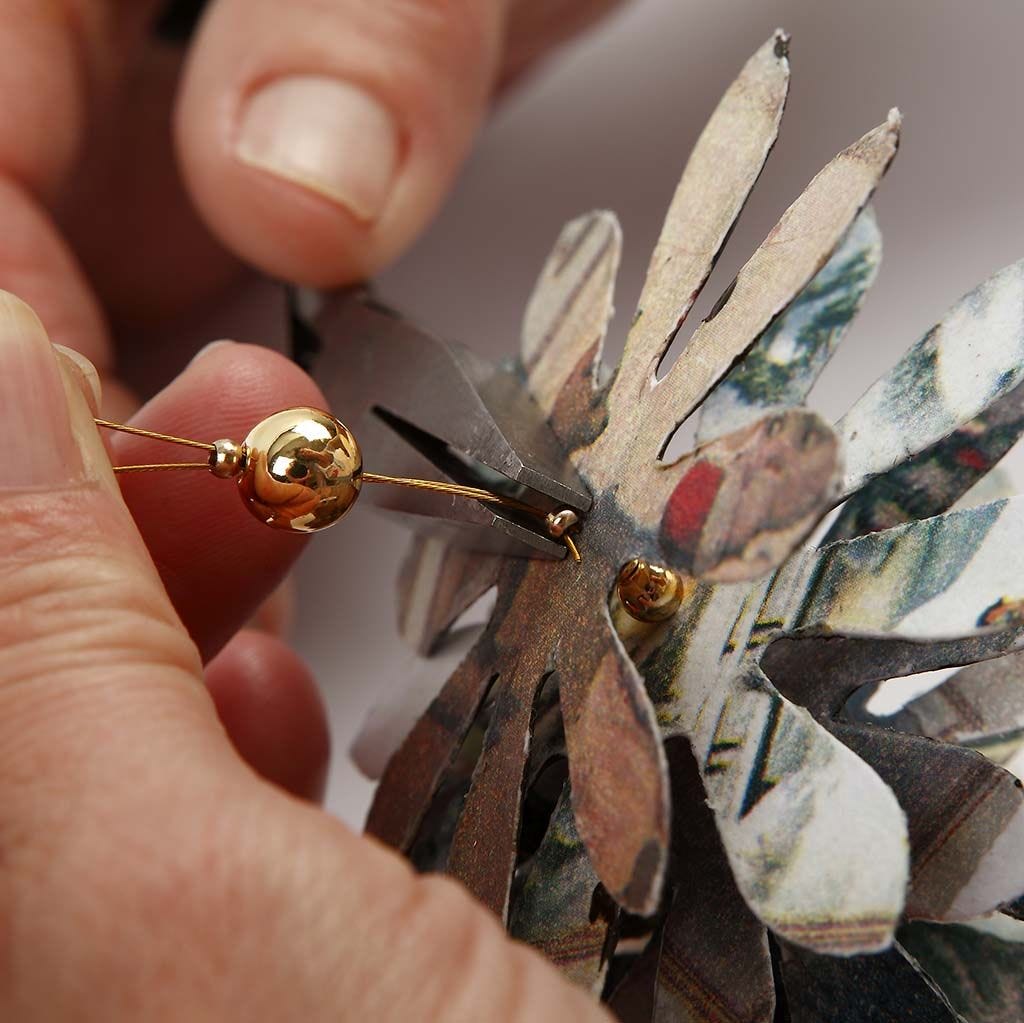
10 Assemble the pine cone. Cut 30cm of beading wire, attach crimp beads and a wax bead and feed the end of the wire back into the crimp bead and close. Cut off the end.
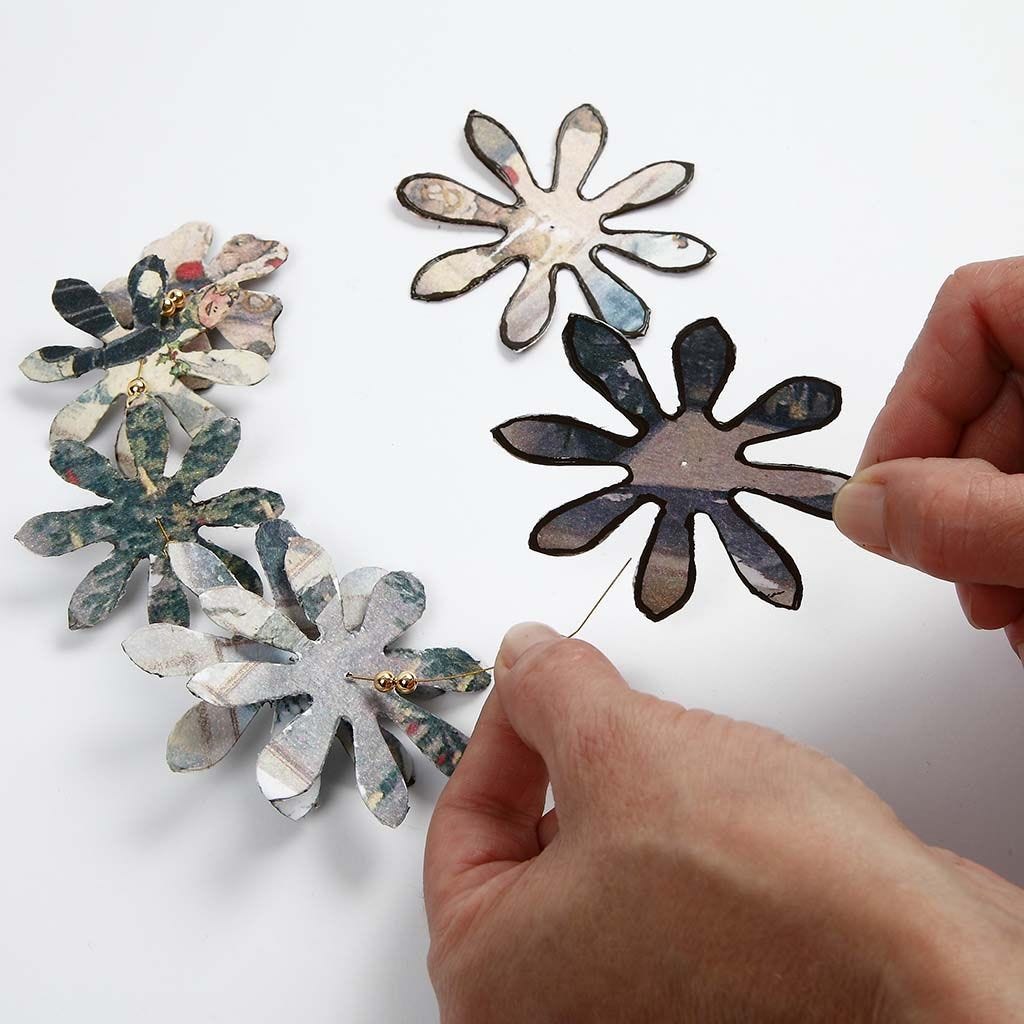
11 Put the four different sizes of flowers onto the wire. Start with the smallest plus two beads. Then two flowers of each size; small, medium and large. Put two beads between each flower.
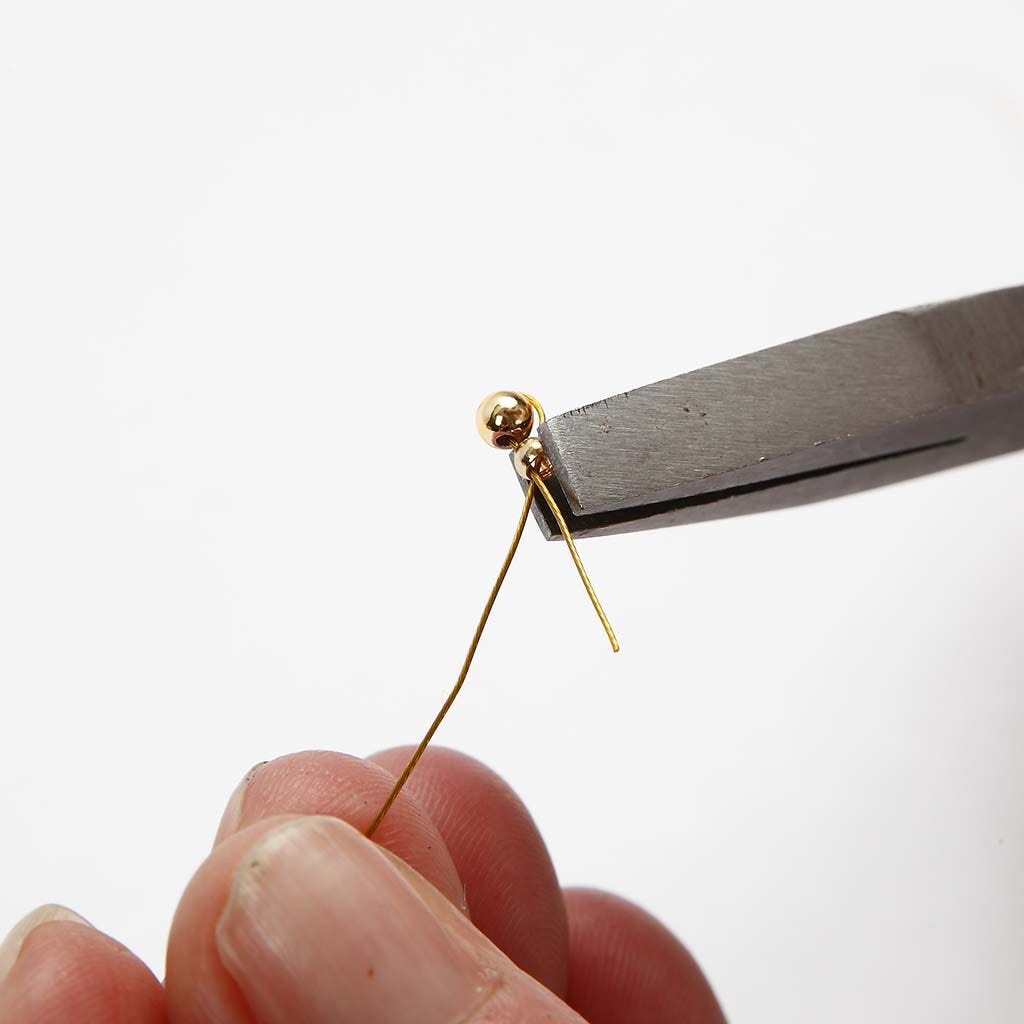
12 Put on a crimp bead, a bead and then another crimp bead. Feed the end of the wire through all three beads.
13 Tighten the beading wire so the pine cone is tight. Close the crimp bead.
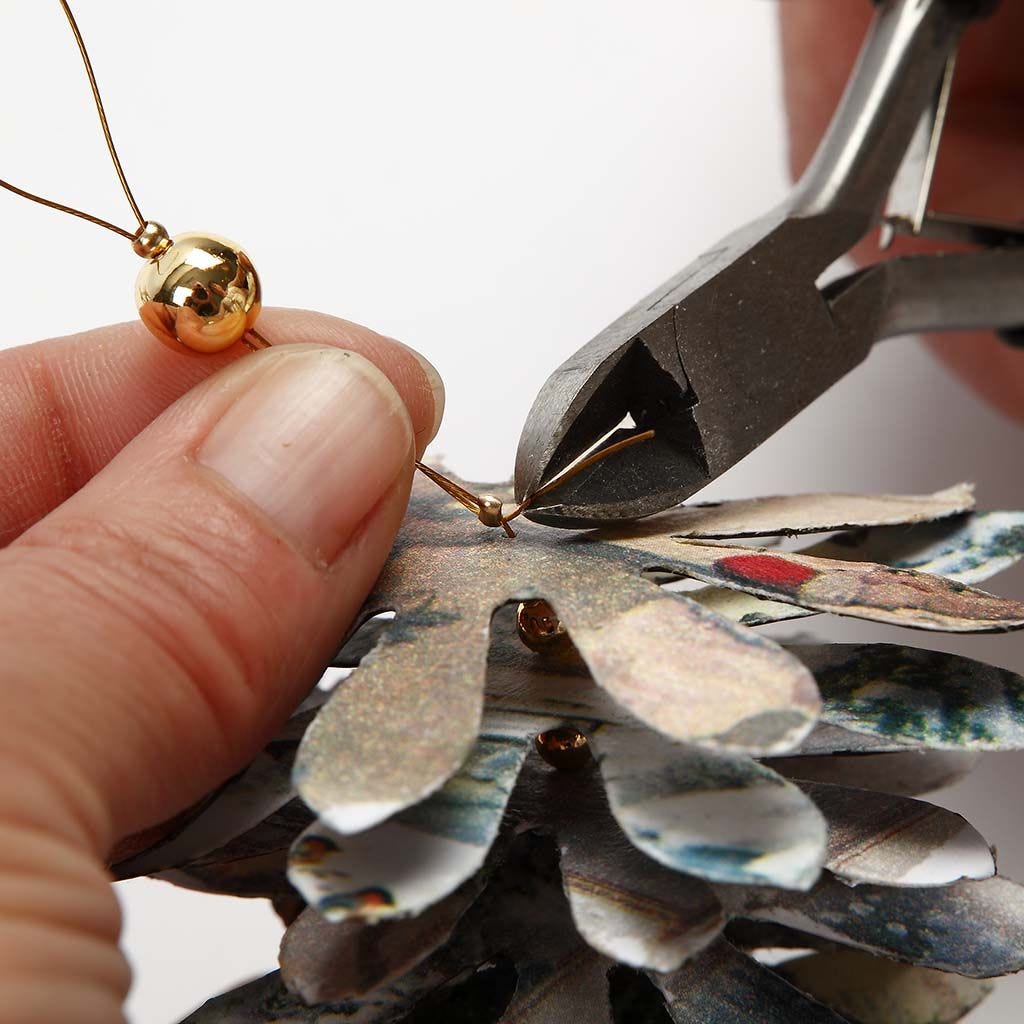
14 Cut off the end.
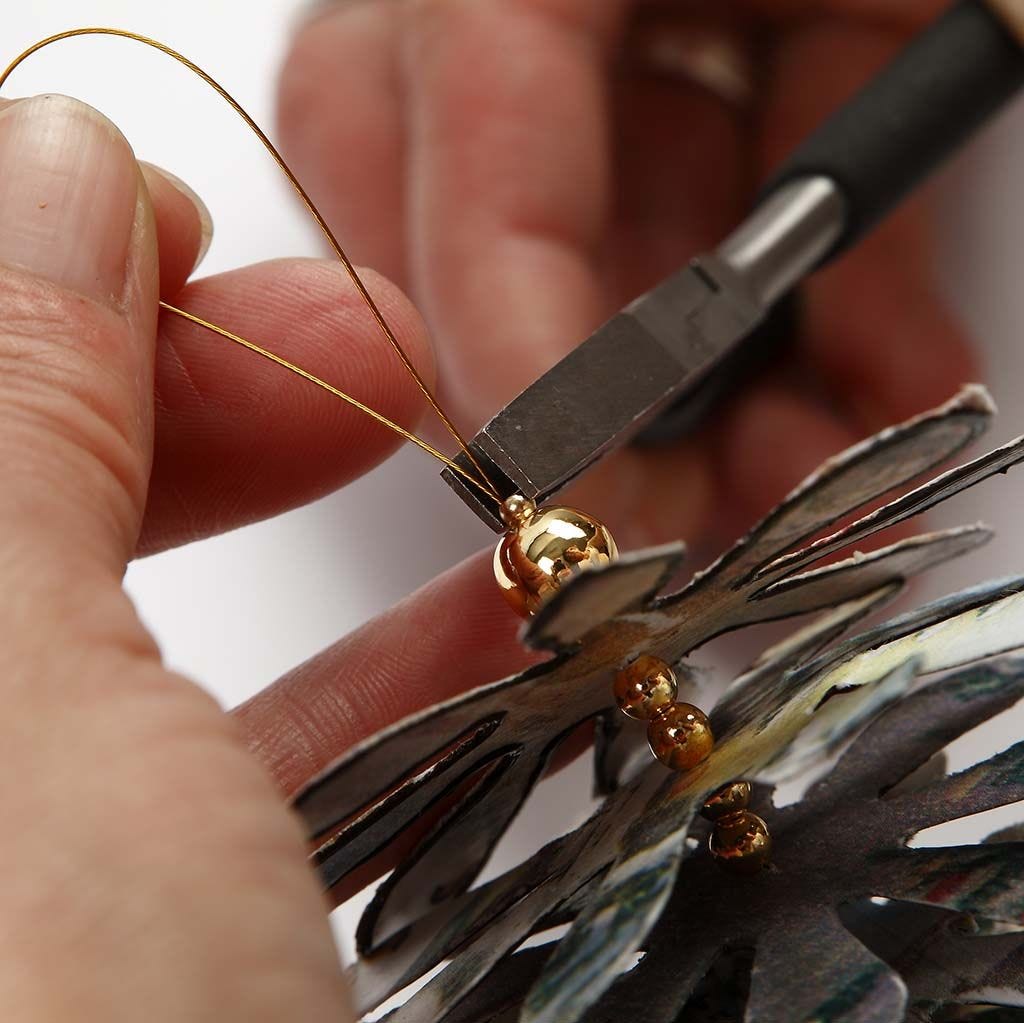
15 Finally squeeze the top crimp bead.
.jpg)
Another variant Gloss Gel is here used for the edges and then sprinkled with silver glitter.
Al aangemeld? Download de sjabloon
Kijk ook bij